A roof ventilation estimate should identify the attic areas being served, the intake and exhaust products, their rated ventilation area, and any work needed to keep the airflow path open. A single line that says “add ridge vent” leaves important questions unanswered. Before approving work on your McAllen or RGV home, ask the roofer to explain the complete plan in writing.
1. Which attic spaces does the estimate cover?
Ask for a simple sketch or labeled photos showing the areas included. A home may have an addition, separate attic sections, or roof shapes that complicate a one-size-fits-all approach. The estimate should explain which spaces were inspected and which could not be accessed.
Start with this question: “What measurements did you use, and which areas does this recommendation serve?” A roof-surface measurement alone should not be presented as a complete ventilation assessment. Ask the contractor to explain the basis of the calculation rather than trying to size the system from a photo.
2. Where does air enter, and where does it leave?
For a vented attic, ask the roofer to identify the proposed intake and exhaust locations. Intake is commonly near the lower roof edge; exhaust is commonly higher on the roof. ARMA explains that these parts need to work together with an unobstructed airflow path. Adding an exhaust vent does not, by itself, establish that the intake side is adequate.
If the home has a sealed or unvented attic arrangement, have the contractor identify that before proposing changes. Do not assume a generic ridge-and-soffit package fits every roof assembly. Our roof ventilation guide explains why inspection comes before choosing the vent package.
3. What exact products and ratings are included?
Ask for the manufacturer, model, quantity or installed length, and rated net free ventilation area for each proposed vent. Net free ventilation area describes the opening available for airflow; it is not simply the outside size of the vent cover. Product ratings can be stated per vent, per section, or per linear foot, so the units matter.
For example, Owens Corning lists different net free ventilation ratings for different ridge-vent products. That is why two estimates with the same number of feet of “ridge vent” are not necessarily describing the same product. Ask the roofer to show how the selected products and quantities support the proposed intake-and-exhaust balance.
The contractor should also explain the manufacturer instructions and applicable project requirements used for sizing and installation. A generic online ratio is not a project-specific determination. This checklist does not establish which code provisions or exceptions apply to your home.
4. Is work needed to make the intake path usable?
A visible opening outside does not tell you whether the path behind it is clear. Ask what was inspected and whether the proposal includes correcting blocked intake, dealing with damaged soffit material, or coordinating insulation-related work. Request photographs of the conditions that support the recommendation when they can be obtained safely.
Make the responsibility clear: Is that work included in the roofing price, listed as a separate option, or assigned to another contractor? If hidden conditions are discovered later, ask how they will be documented and approved before additional work begins.
5. What happens to the vents already on the roof?
Ask the roofer to identify which existing vents remain, which are replaced, and which openings require closure or other work. ARMA cautions that mixing different exhaust types over a shared attic can create an unintended airflow route between exhaust vents. The answer is a coordinated design, not an automatic instruction for a homeowner to close an existing vent.
A useful question is: “How does each existing vent fit the proposed system?” Ask for any associated roof-deck, underlayment, flashing, and shingle work to be included in the scope. Compare that description alongside the rest of your shingle roof replacement estimate.
A short checklist to bring to your estimate review
Areas: Which attic sections were inspected, measured, and included? What remains unknown?
Products: Which exact intake and exhaust models, quantities, lengths, and rating units appear in the proposal?
Air path: What intake restrictions were found, and who will address them?
Existing vents: Which stay, which change, and what associated roofing work is included?
Handoff: What product information, installed-work photos, maintenance guidance, and written warranty documents will be provided?
Be cautious about promises that skip the inspection
A ventilation upgrade is not a guaranteed cure for a hot room, a ceiling stain, or a high utility bill. Those observations deserve an explanation of what was inspected and what the recommendation is intended to address. Ask what other conditions may require separate evaluation and what results the contractor can reasonably support.
You do not need to climb onto the roof or enter an unsafe attic to collect answers. Request a documented explanation from the people performing the inspection.
Get a clear plan before approving the work
Marva Roofing is family-owned and veteran-owned, serving McAllen and the Rio Grande Valley. If your estimate leaves the ventilation scope unclear, book an inspection or call (956) 217-9989. Bring the estimate and the questions above so the discussion starts with the work your home actually needs.
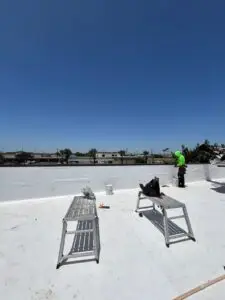
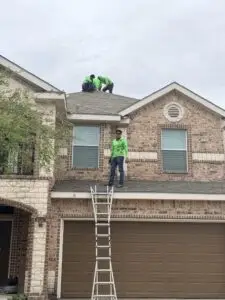
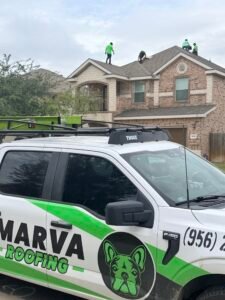
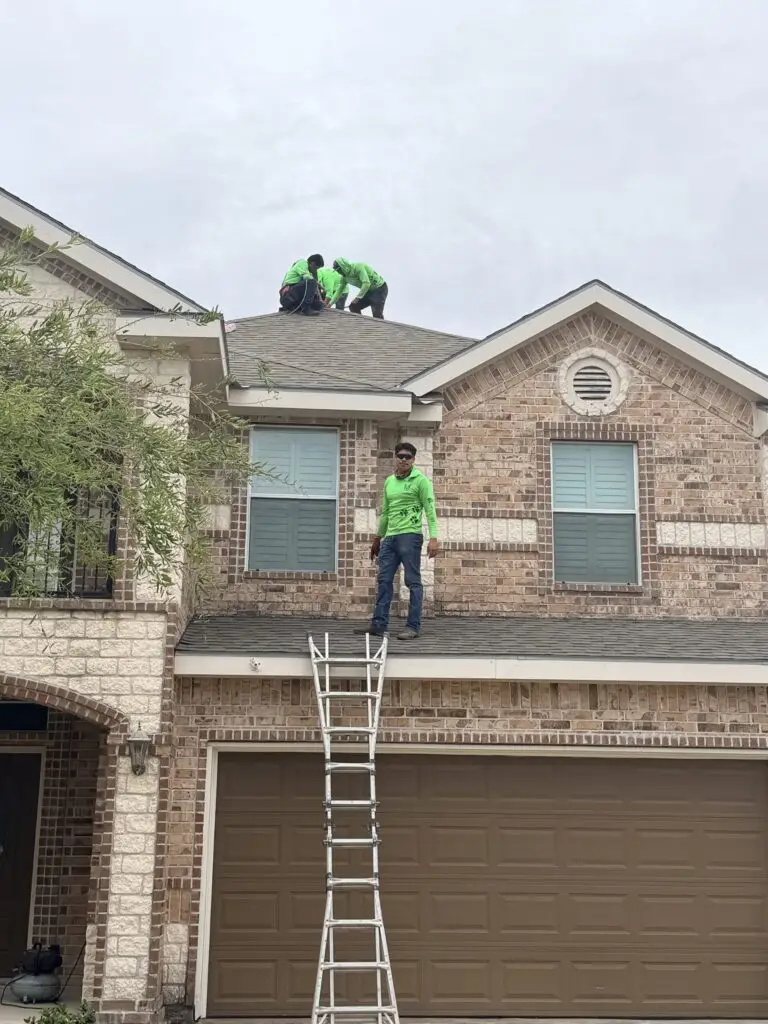
Photo context: These project views show roofing work in progress. They do not document an airflow test or prove that a particular ventilation system is suitable or complete.
Technical references: ARMA: Installing Attic Ventilation; Owens Corning VentSure 4-Foot Strip Ridge Vent and VentSure Rigid Roll Ridge Vent product specifications. Use the instructions for the actual products proposed.